
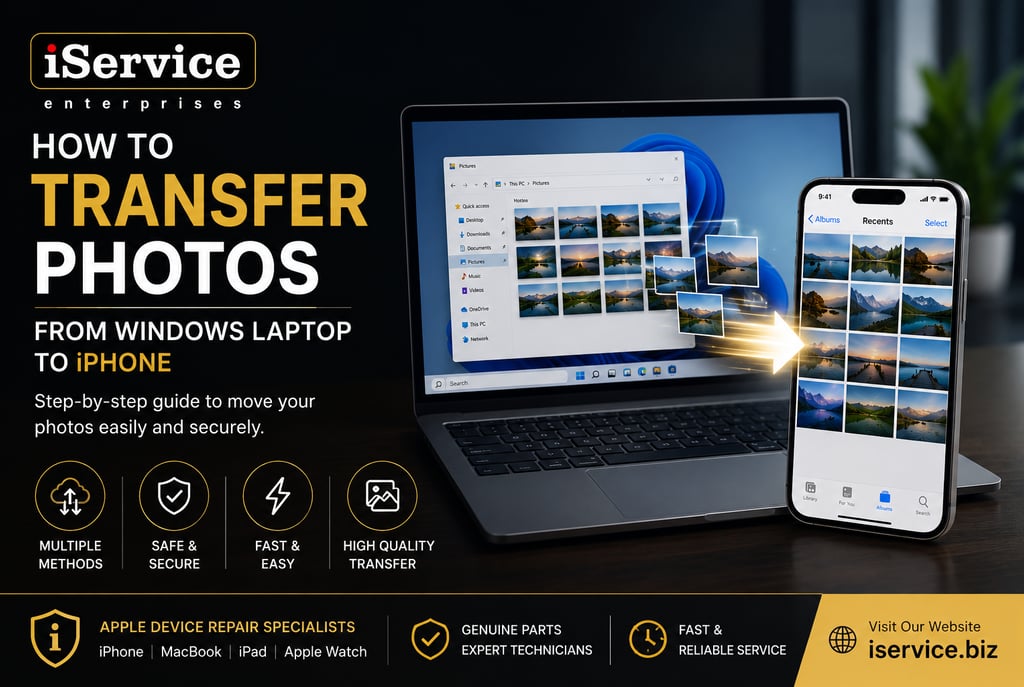
How to Transfer Photos from a Windows Laptop to an iPhone | Complete Guide
Learn how to transfer photos from a Windows laptop to an iPhone using iCloud, iTunes, Google Drive, OneDrive, and other easy methods. Step-by-step guide by iService Enterprises.

Introduction
Photos are among the most valuable memories stored on our devices. If you have photos saved on your Windows laptop and want to move them to your iPhone, there are several easy and secure methods available. Whether you are upgrading to a new iPhone, organizing your photo library, or simply sharing memories, this guide will help you transfer photos quickly.
Method 1: Transfer Photos Using iCloud Photos
iCloud is Apple’s official cloud storage service and is one of the easiest ways to sync photos across devices.
Steps:
Install iCloud for Windows on your laptop.
Sign in using the same Apple ID used on your iPhone.
Enable iCloud Photos.
Copy your photos into the iCloud Photos folder on your Windows PC.
Open the Photos app on your iPhone and wait for synchronization to complete.
Advantages:
Wireless transfer.
Automatic synchronization.
Photos remain backed up in iCloud.
Method 2: Transfer Photos Using iTunes
You can sync photo folders from your Windows laptop directly to your iPhone using iTunes.
Steps:
Download and install the latest version of iTunes.
Connect your iPhone to the laptop using a lightning or USB-C cable.
Open iTunes and select your iPhone.
Click Photos in the sidebar.
Enable Sync Photos and choose the folder containing your photos.
Click Apply to start the transfer.
Advantages:
Fast transfer speed.
No internet connection required.
Method 3: Transfer Photos Using Google Drive
Google Drive is a convenient cloud-based solution for transferring photos.
Steps:
Upload photos from your laptop to Google Drive.
Install the Google Drive app on your iPhone.
Sign in with the same Google account.
Access and download the photos to your iPhone.
Advantages:
Works from anywhere.
No cables needed.
Easy sharing options.
Additional Tips for a Smooth Photo Transfer
Ensure your iPhone has enough storage space available. Keep your device connected to Wi-Fi when using cloud services, and use original or certified charging cables for wired transfers. Also, ensure your iPhone is updated to the latest iOS version to avoid compatibility issues.
Conclusion
If you are facing issues with photo transfers, our experts can help resolve storage problems, iCloud syncing errors or any other iPhone-related concerns to ensure your photos are accessible whenever you need them.